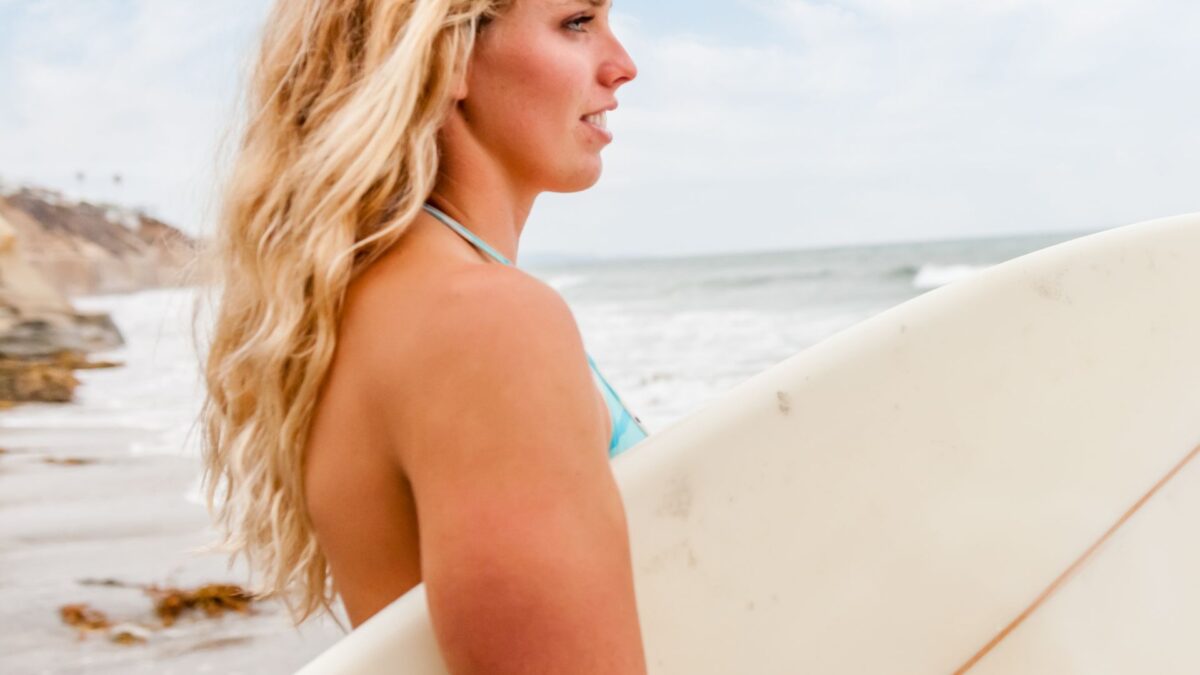
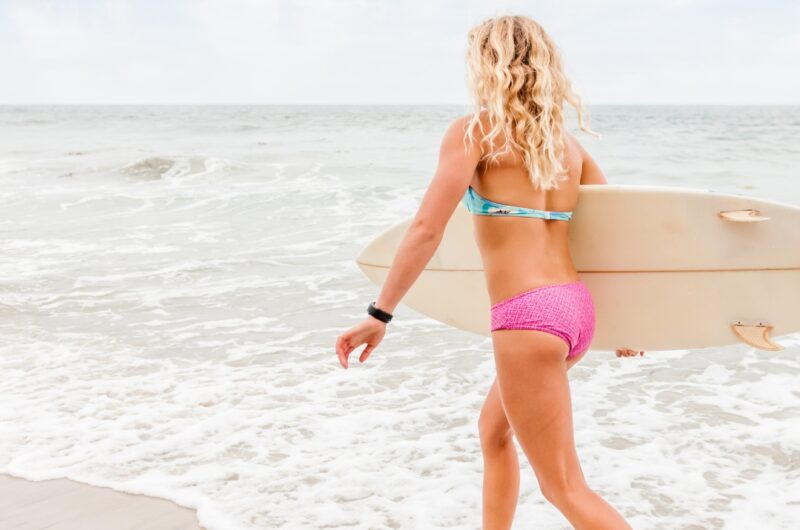
Lived In Waves – Beachy Waves – Surfer Hair: The coveted look
A clean guide on how to get the coveted surfer hair that you dream of.
If your hair has some natural wave in it, the kind of hair that is half wavy half straight, you know, the kind of hair that you wear on the smoother side but at times when you air dry it, it dries curly/wavy and people ask if you got a perm?
Then this beachy look is for you.
Not only does the beachy wave look give the illusion of more volume, but it also creates a low maintenance vibe, the surfer hair look that we all long for these days. The kind of look that if you are out enjoying a bike ride or a ride up the coast in your convertible as care free as can be, your hair will still look good after you arrive at your destination.
We are going to share the ins and out of what hair products you need to accomplish this look and how to style your hair. There are two versions of the protocol. You can print off the hair direction recipe card to save for later.
Air Dried Surfer Hair
This is a super sexy look for those of you who do not want to mess with a blow-dryer. This is the ultimate surfer chick or surfer dude salty beach hair jam. The coveted Hawaii or Costa Rica tropical vibe hair. The going everywhere in your flip-flops but I look fine as hell look. Yeah I think we all could use a little more of that in our lives.
If we can’t be on vacay, or live where vacation is year round, we can live the life in the things that we do, including how we style our hair. This look is a very straight off the beach look while the lived in waves are still messy yet clean, and can be a bit more polished.
Lived In Waves
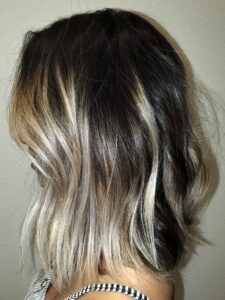
This wavy look is for those of us who love a good blow dry session, and can’t live without our hot tools. This is the look you see many celebs wearing on the red carpet, and also when they are caught on film getting their morning Starbucks coffee.
The look is more of a lived-in look, one that can take you from your normal every day tasks, into a dressy dinner out on the town and everything in between. It gives the illusion of thicker hair with a lot of movement. It is also very forgiving if you do not get it perfect, which is even better since the last thing any of us want to spend extra time on is our hair styling sessions.
We will be using our top picks of products to get these looks. You can copy our professional code —> HHT1034 to save $5 if you choose to purchase any of the Holistic Hair Products we talk about below. We will also share our salon affiliate links for our favorite tools and at no extra cost to you, your purchase will help support our mission to help the world learn about better products and methods to look their best.
Here is how to get both looks holistically:
Surfer Hair Lived In Beachy Waves
Difficulty: Easy5
minutes30
minutes5
minutesWhat you will need:
Copy our pro Code –> HHT1034 <–
(to save on our top pick Hair products from holistic hair tribe)
Volumizing Hair Bath Shampoo for Fine Hair / Frequent Use Hair Bath Shampoo for Medium Hair/ Curly Hair Bath Shampoo for Full Hair
Frequent Use Hair Conditioner for Fine-Medium Hair / Smoothing Hair Conditioner for Full Hair
Volumizing Root Spray (If Blow-Drying)
Flux Potion (If Blow-Drying)
Microfiber Turban (Optional)
Hair Pick (Optional)
Blow Dryer (If Blow-Drying)
Directions
- Wash hair: For those of you with fine hair, you will love the Volumizing Hair Bath. For those of you with average medium density, you will want to use the Frequent Use Hair Bath. For those of you with full hair, you will want to use the Curly Hair Bath Shampoo.
- Condition hair: This style does not require a ton of added moisture, as it requires more of a salty finish. For this finish, fine-medium hair types can use the Frequent Use Hair Conditioner while full hair types can use the Smoothing Hair Conditioner.
While conditioning and still in the shower, use a hair pick to part your hair where you will want it parted in the final styling process, this is done while the conditioner is in your hair. Then do a final rinse. - Air-Dry Directions: DO NOT brush your hair after your shower. Wrap your hair up in your favorite microfiber turban just to get the excess moisture out. DO NOT use friction or rub your hair dry, let the turban do the work.
Blow Dry Directions: After your shower, towel dry your hair, it is ok to use friction since you will be blow-drying before putting in your waves. - Air Dry Directions: Next lightly FINGER through your hair (no brushing and no picks at this point) to put it into place.
LET IT AIR DRY
Blow Dry Directions: Prep hair with a small amount of Nurturing Drops (these are highly concentrated so use sparingly and protect from UV damage, they also help to mend split ends) to protect from the heat of the blow dryer and the hot tools. Only a few drops are needed for a nice coating, keep this more on your mid-shaft to ends and leave off of the roots.
If you need root volume: Spray the ROOTS ONLY of your hair with Volumizing Root Spray.
Take a little Flux Potion and lightly spread it throughout the mid-shaft to ends (this is very spreadable and a little goes a long way).
Give your hair a rough blow dry and as it gets closer to being dry, grab your wet brush or your round brush and finish your blow dry. - Air Dry Directions: After it is dry, take a very small amount of the Nurturing Drops (these provide heat and UV protection) and some of the Next Day Cream, rub it through the palms of your hands, and as you tilt your head to the right, lightly apply it to the already dry tresses, then repeat to the left side. Use your fingers to perfect the waves, and spread them out just a bit.
Blow Dry Directions: Divide hair into three sections. The bang area, the area behind the bangs until your occipital bone just over the round part of your head, and leave the underneath part free to start your curls.
Take little sections and wrap them around your curling wand leaving the ends out. If you don’t have a wand, your can use a curling iron, wrap the hair up, uncoil it after a few seconds, and then while the ends are still inside the barrel, pull straight down to give a straighter end to the style. If you are using a beach hair waver, you can use it without leaving the ends out. Repeat throughout each section. You can alternate the direction of the waves, although this is not necessary to pull off the look.
When getting to the top bang area, curl away from the face, to give softness and movement.
Let the hot curls cool off and set. Once they are set, take a tiny bit of Next Day Cream, emulsify it through your palms, lightly finger through them to create separation. This is where the magic happens. Too much finger action could mess up your work, so a little goes a long way. - To finish: Grab your holistic Sea Salt Spray to give volume and texture to your hair like you have been at the beach all day. This spray smells divine. Lift sections of your hair, and holding the spray 6 inches away from your head, spritz a little into each section, and then let your hair settle.
Enjoy your Surfer Waves, and all of the compliments coming your way!
Notes
- All of the products listed in the recipe card can be found below in the shop area.
The Ultimate Surfer Hair Guide Shop:
Copy Code —> HHT1034 to save $5 on your purchase
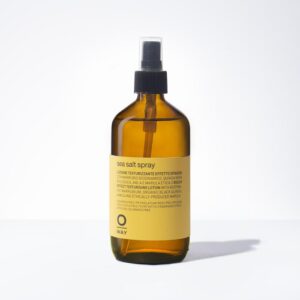
Sea Salt Spray
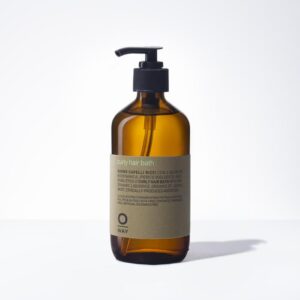
Curly Hair Bath
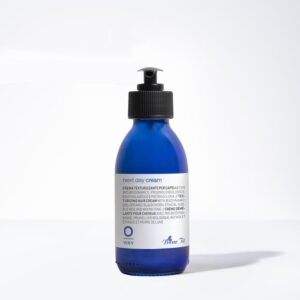
Next Day Cream – Blue Tit
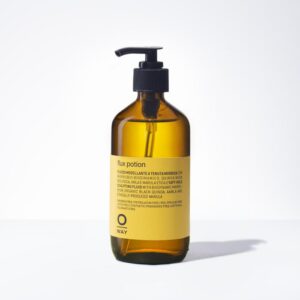
Flux Potion
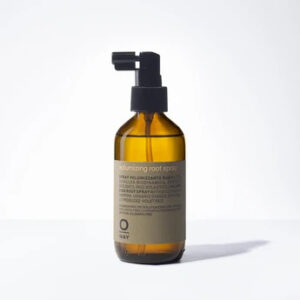
Volumizing Root Spray
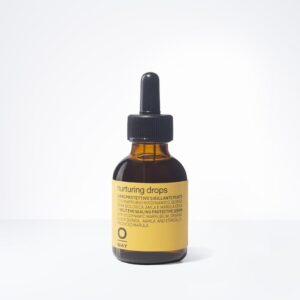
Nurturing Drops
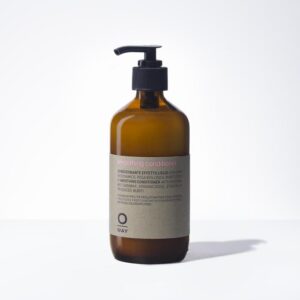
Smoothing Hair Conditioner
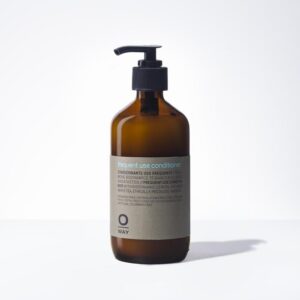
Frequent Use Hair Conditioner
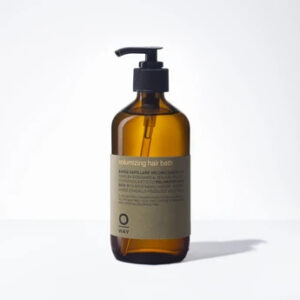
Volumizing Hair Bath Shampoo
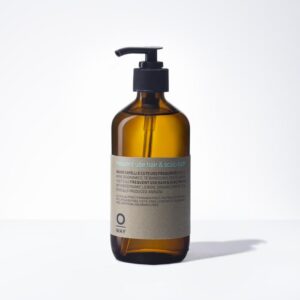
Frequent Use Hair Bath Shampoo
For more inspo images of cool surfer hair, click HERE to see surfer girls and click HERE to see surfer dudes. We want you to love your hair, and more importantly, have an enjoyable experience while styling your hair. We want you to love the smell of your products and the feel of them in your hair. That is why we love Oway Hair Products.
Check out our gluten free styling guide HERE
